
Guide
This is where you build and maintain your portfolio. You're always editing your live page; there's no separate draft mode. Changes just aren't published until you hit Save (see Saving & the change log below).
Getting around
- Desktop. The top bar shows tabs for My Shell, Connections, Insights, and Settings, plus icons for My shells, Copy Public URL, notifications, and your account menu.
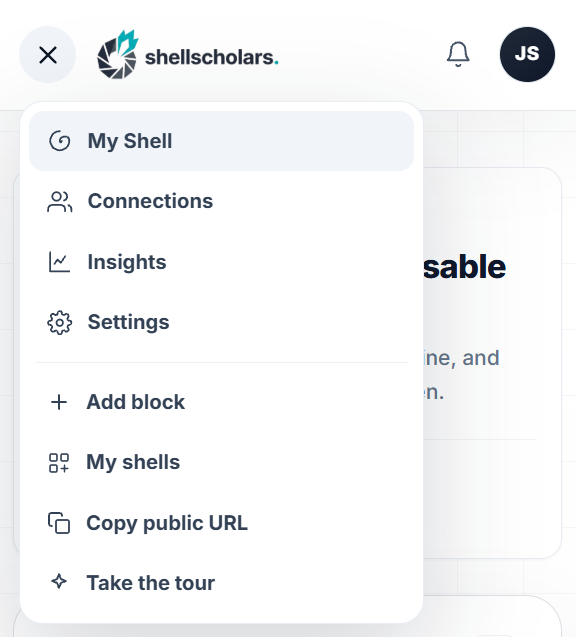
- Mobile/tablet (≤760px). Those controls collapse into a ☰ menu in the top left. Tap it to reach any tab, Add Block, Copy public URL, My shells, and Take the tour.

Adding a block
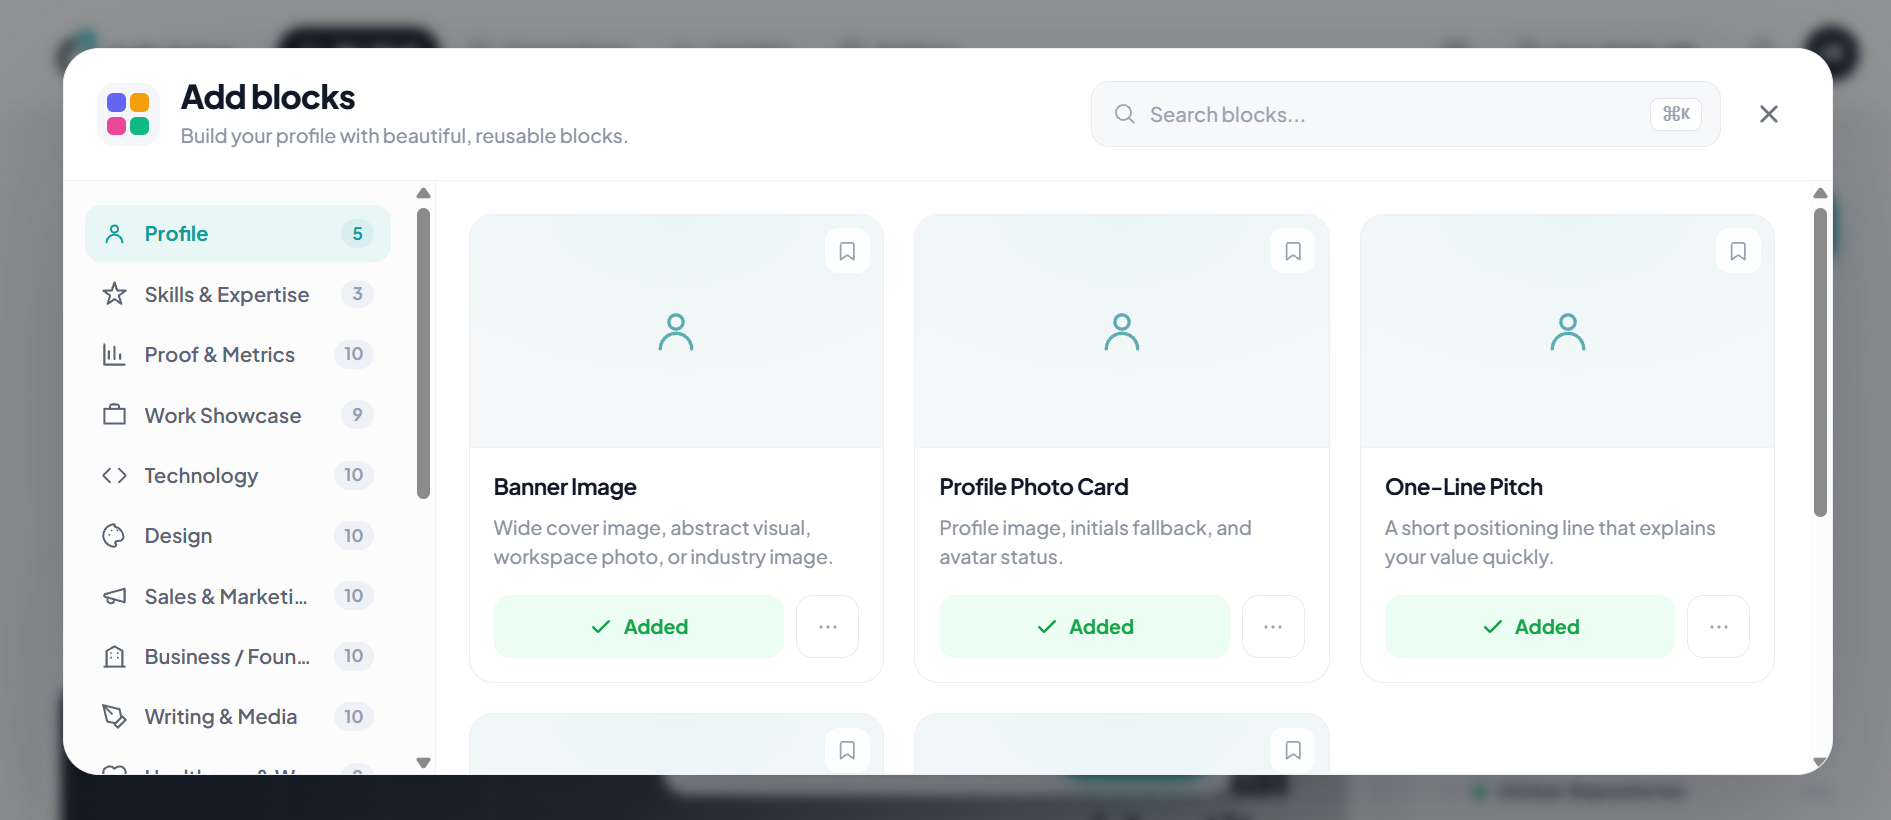
- Click Add Block (top-right rail card on desktop, or the + inside the ☰ menu on mobile).
- Browse by category in the dropdown or sidebar: Profile, Skills & Expertise, Proof & Metrics, Work Showcase, Technology, Design, Sales & Marketing, Business/Founder, Writing & Media, Healthcare & Wellness, Legal, Education & Academia, Experience & Timeline, Contact & Conversion, or your Saved blocks.
- Use the search box (or ⌘K) to find a block by name instead.
- Click the bookmark icon on any card to save it for quick access later.
- Click Add block on a card to place it on your canvas. If you're already using that block type, you'll be asked to confirm adding another copy.
Editing content
Click directly into any text, image, or field on a block; it's editable in place, no separate form. Changes save into your working draft immediately as you type. Nothing goes live until you click Save.
Reordering & resizing blocks
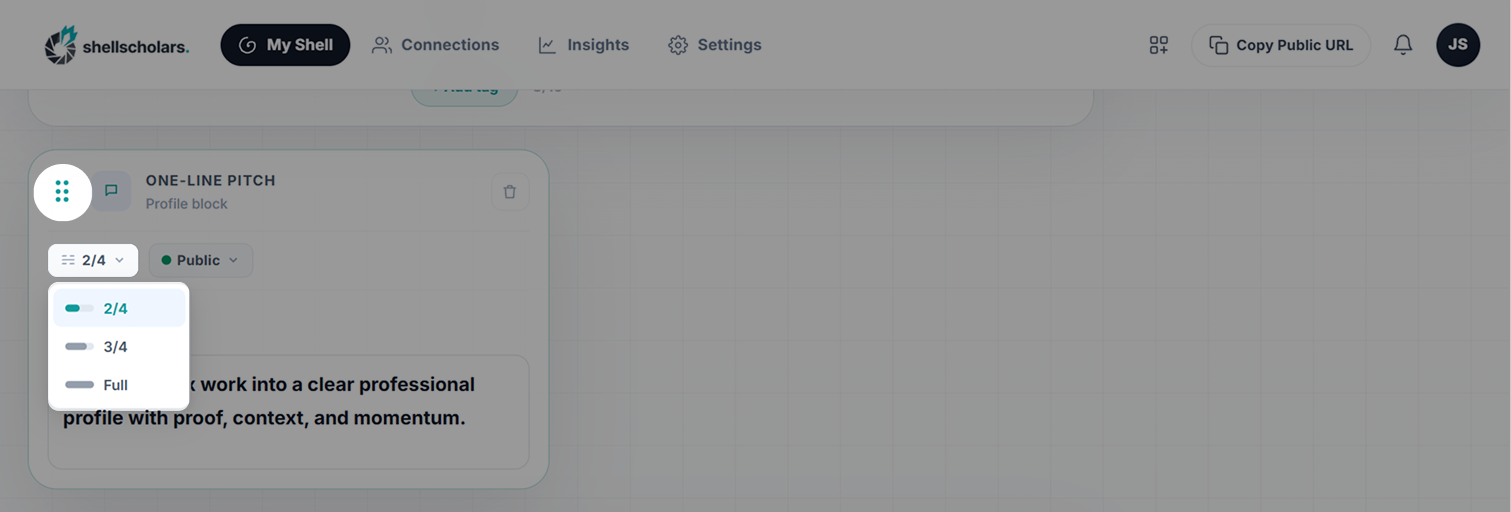
- Desktop. Drag a block by its handle to move it anywhere on the canvas; use the width dropdown on each block to set it to ¼, ½, ¾, or full width.
- Mobile. Dragging and resizing are desktop-only; tapping either control shows a short notice and nothing changes. To reorder on the go, use the Profile blocks roster, which supports drag-to-reorder on any screen size.
Visibility: Public, Private, Hidden
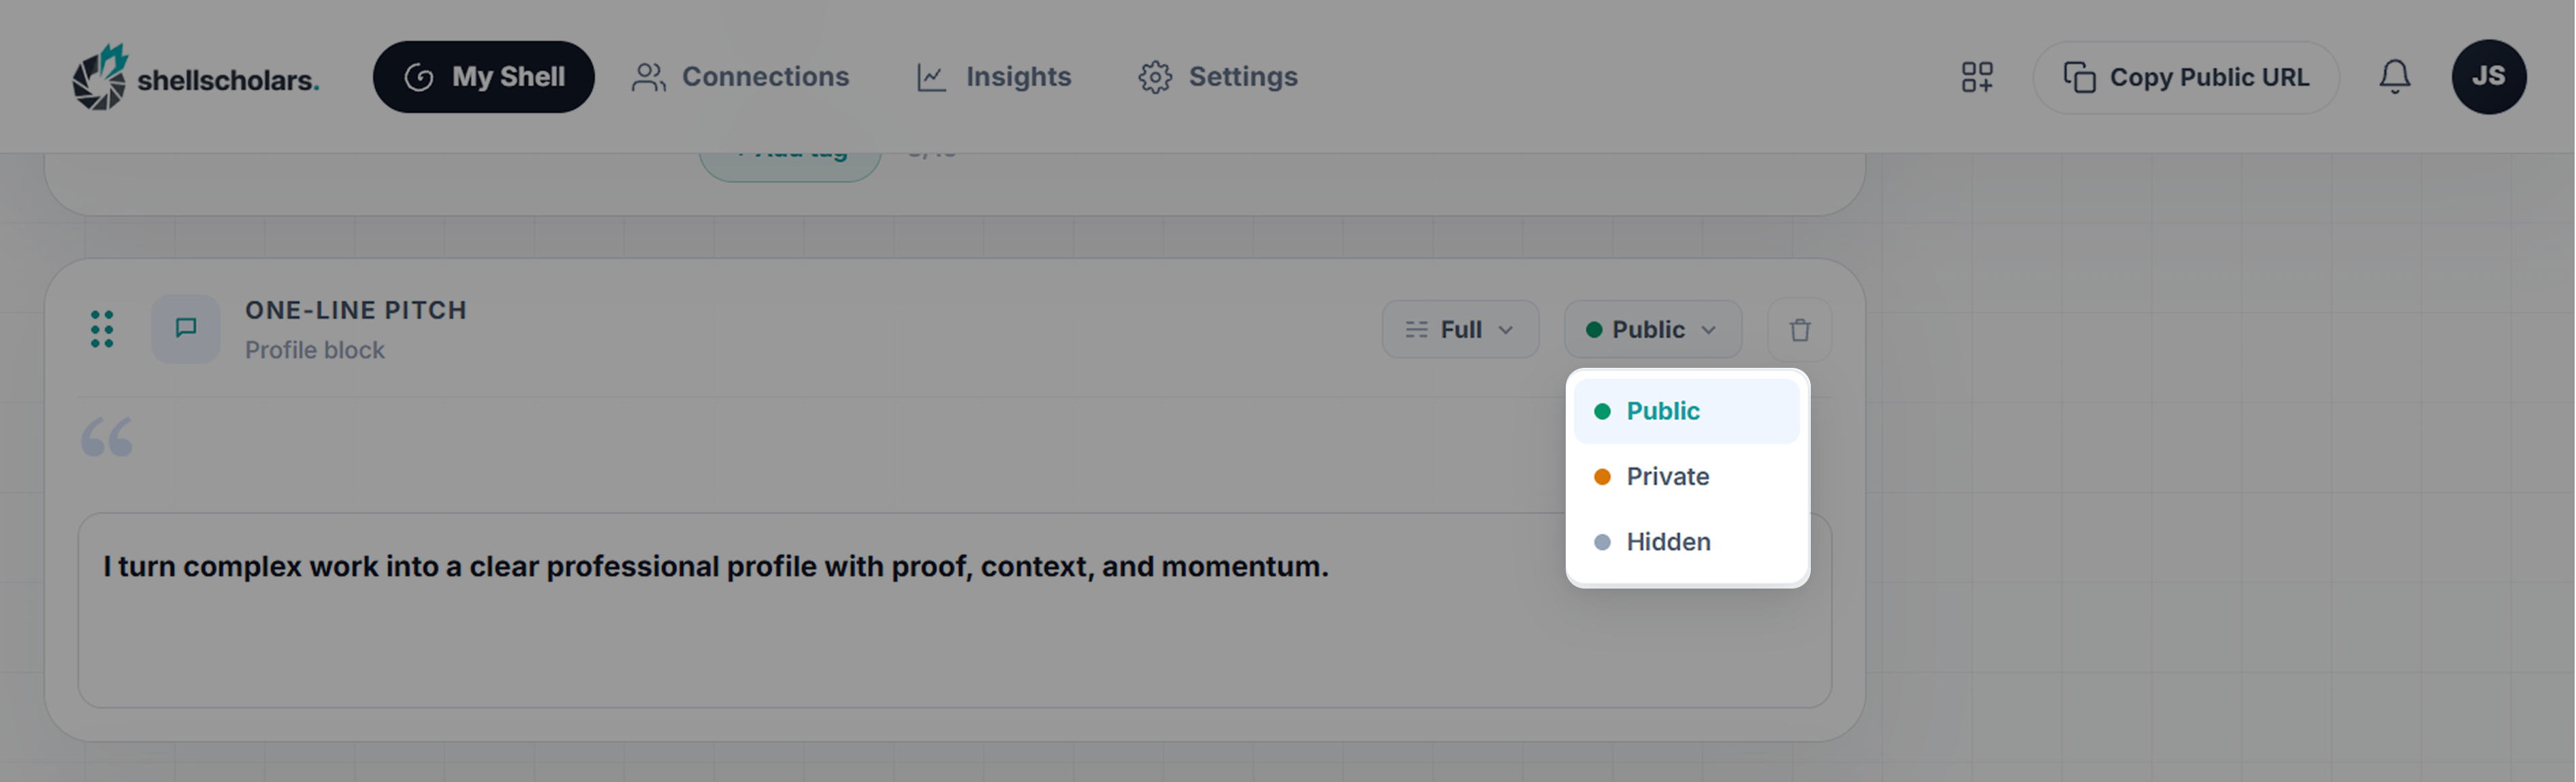
Every block has a visibility dropdown:
- Public. Visible to anyone with your link.
- Private. Hidden from the general public; only people you've approved as connections (optionally scoped to a specific tag/group) can unlock it. Setting a block to Private opens a dialog to choose which connection groups may see it.
- Hidden. Visible only to you, in the editor. Never rendered publicly.
This works the same way on desktop and mobile.
The "Profile blocks" roster
The rail card lists every block on your shell with its visibility dot and width.
- Click a row to scroll the canvas straight to that block, centered on screen, with a brief highlight.
- Drag the grip (left of the visibility dot) up or down to reorder that block; it moves on the canvas immediately, the same as dragging a card directly.
Previewing
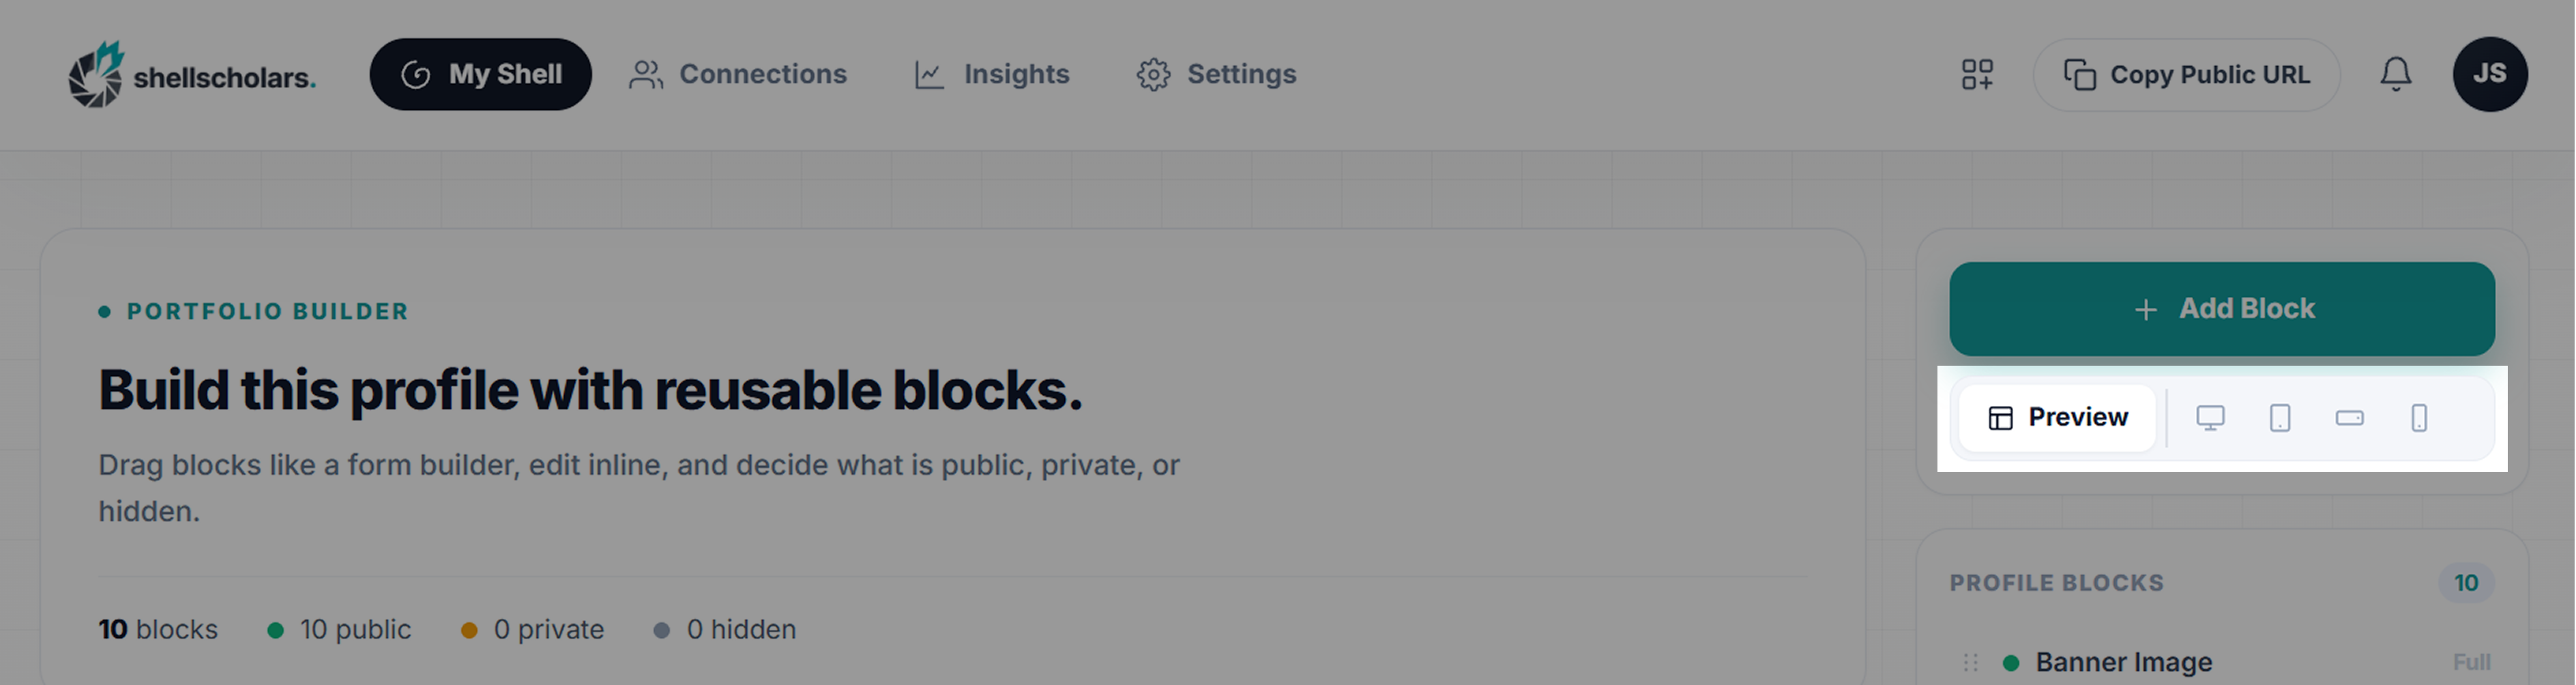
While editing, use the device-preview switcher (desktop only) to see your shell exactly as a visitor would, in Desktop, Tablet, Mobile-landscape, or Mobile-portrait frames, before anything is saved.
Saving & the change log
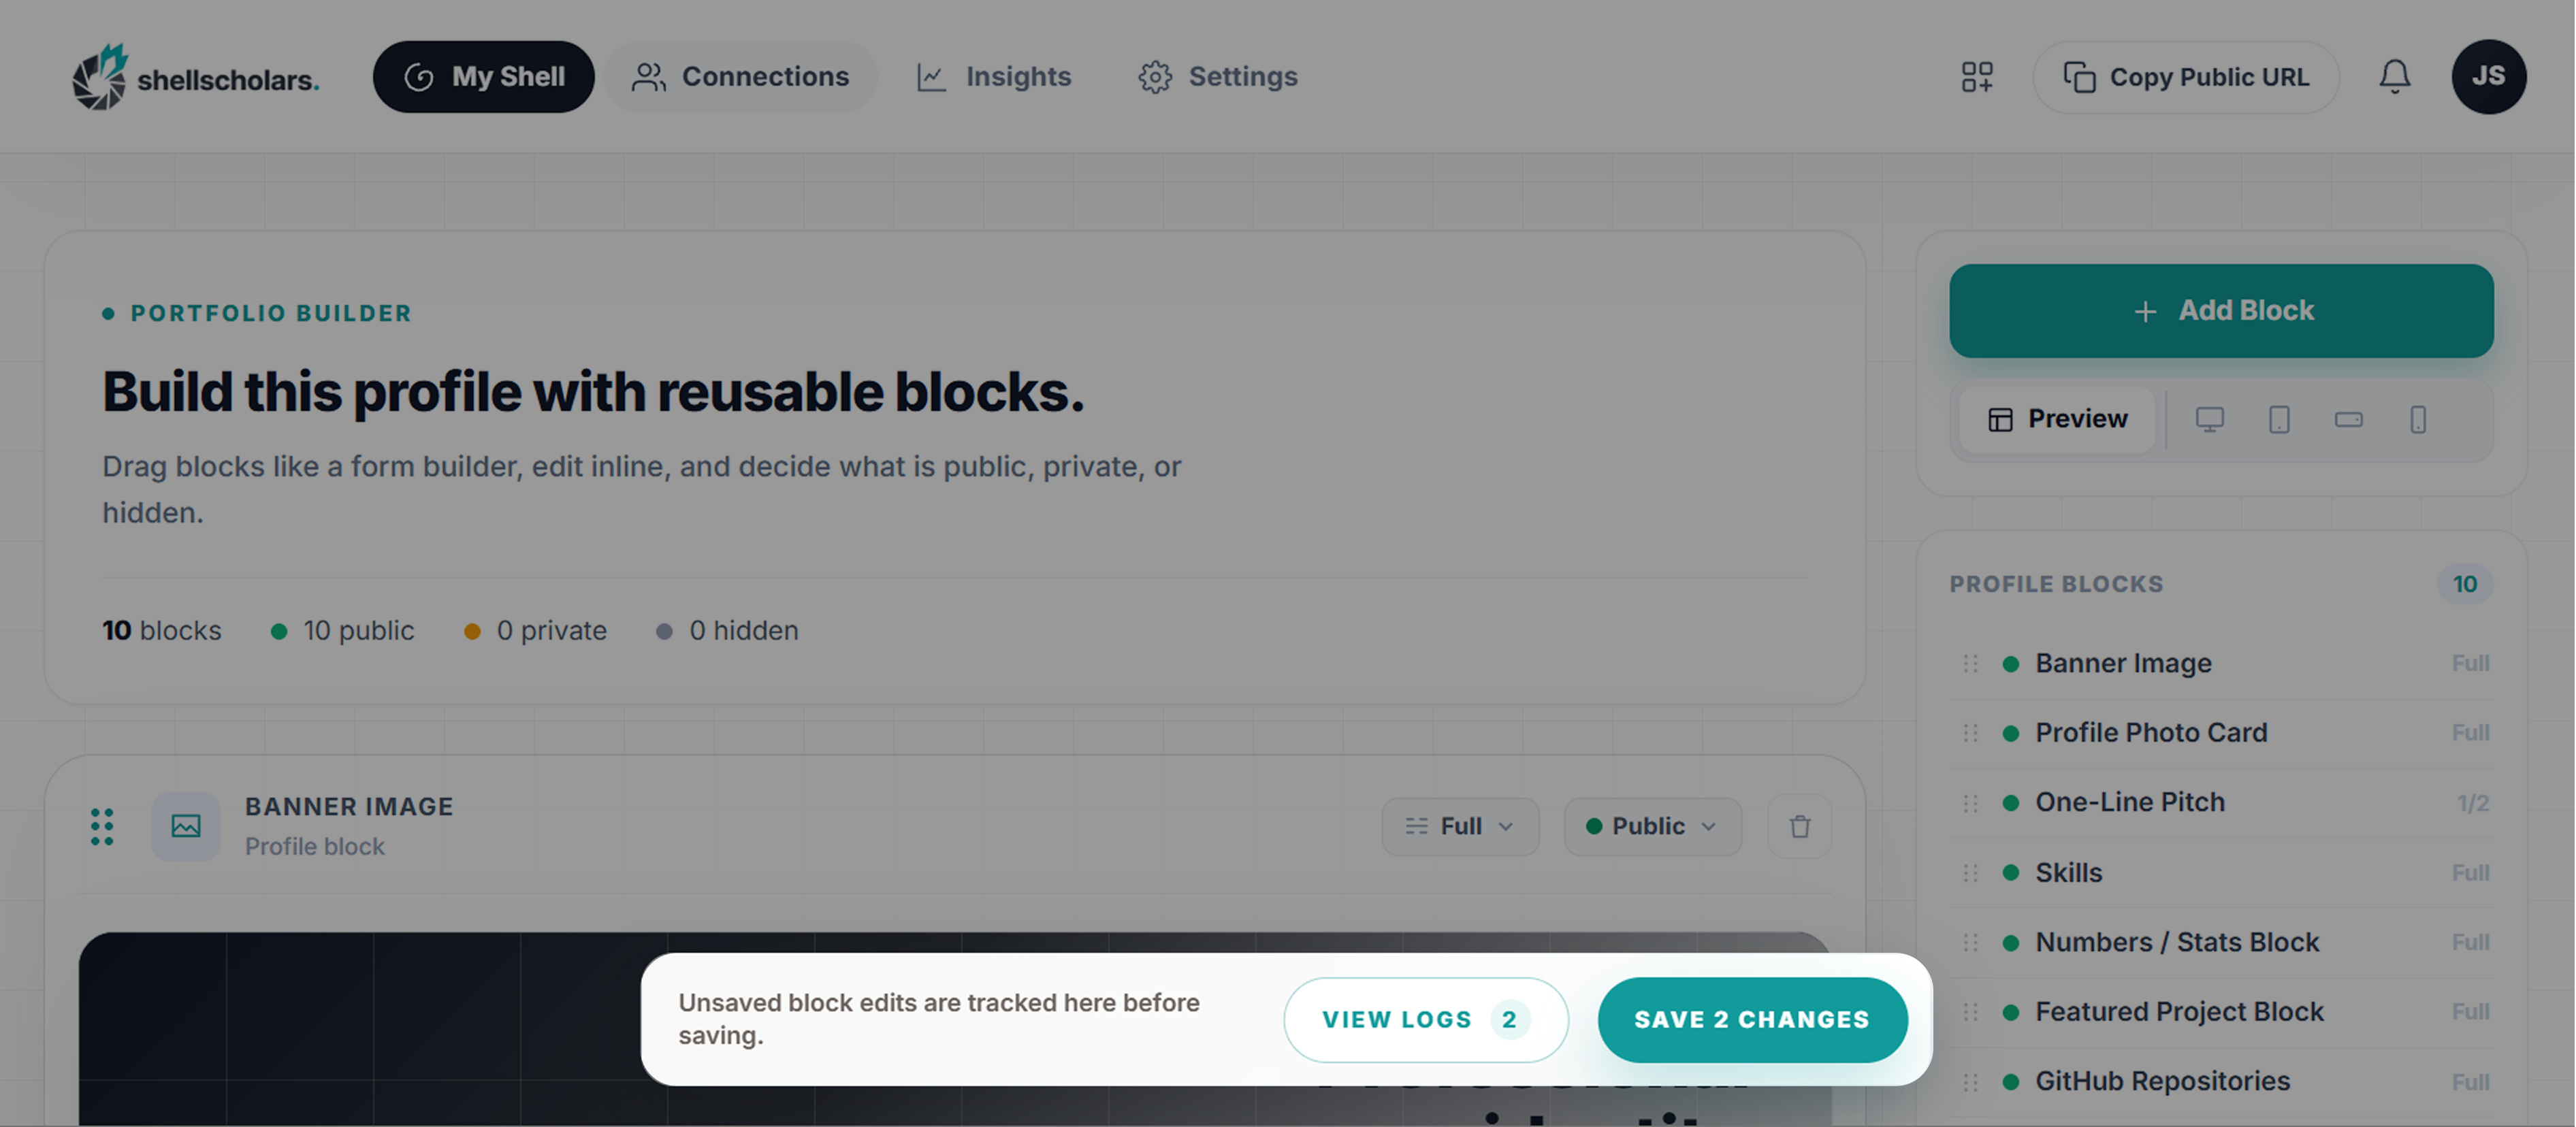
- Every edit (content change, add/remove, visibility flip, reorder) is tracked. When you have unsaved edits, the bottom bar shows View logs (see and revert individual changes) and Save changes.
- When there's nothing unsaved, that same bar instead shows a Share your public URL card with a one-click Copy link button, a quick way to grab your link any time you're not mid-edit.
The guided tour
A short interactive walkthrough spotlighting the editor's main controls.
- It launches automatically the first time you publish a brand-new shell.
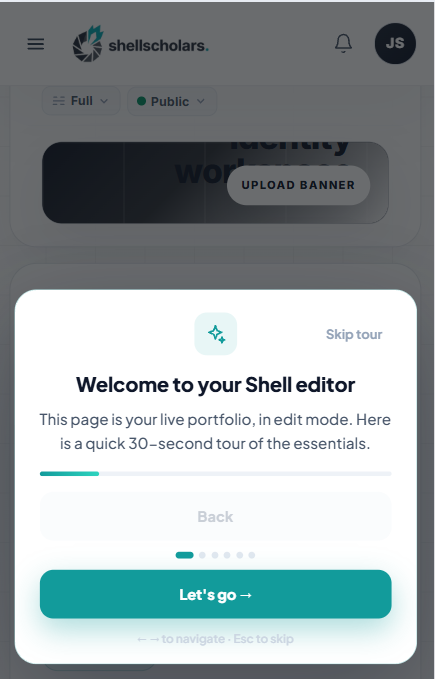
- On mobile/tablet, you can replay it any time from the ☰ menu → Take the tour. It runs a shortened version covering the menu, Add Block, the canvas, visibility switching, and saving.
Configuring your profile
Open Profile settings (from the editor) to update your name, headline, location, availability text, and job family.